Adding Node 2
Adding a Node to SQL Server 2019 Failover Cluster
-
Remote into EC2 (node-02). Run setup.exe from the installation media to launch the SQL Server Installation Center.
-
Click on the link Add node to a SQL Server failover cluster to run the SQL Server 2019 installation wizard.
-
In the Product Key dialog, leave it as default and select Next.
-
Read and accept the License Terms.
-
In the Global Rules dialog, check if the checks return successful results.
-
In the Microsoft Update dialog, click Next.
-
In the Add Node Rules dialog, check if the checks return successful results. If there are warnings, make sure to resolve them before proceeding with the installation.
-
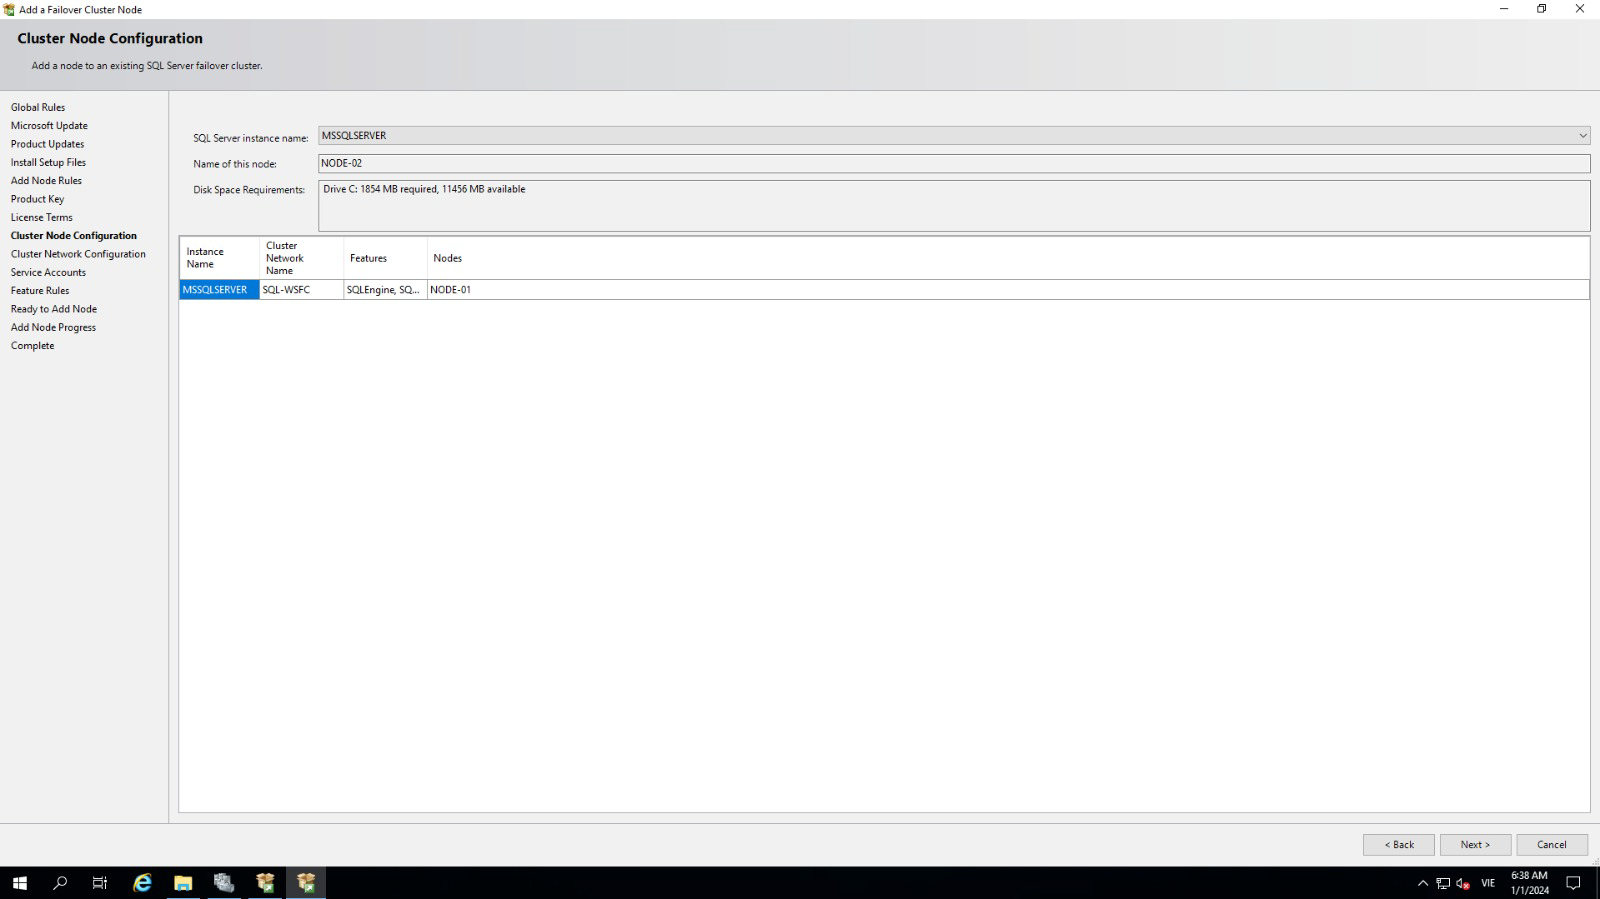
In the Cluster Node Configuration dialog, verify that the information for the current SQL Server 2019 Failover Cluster Instance is correct.
-
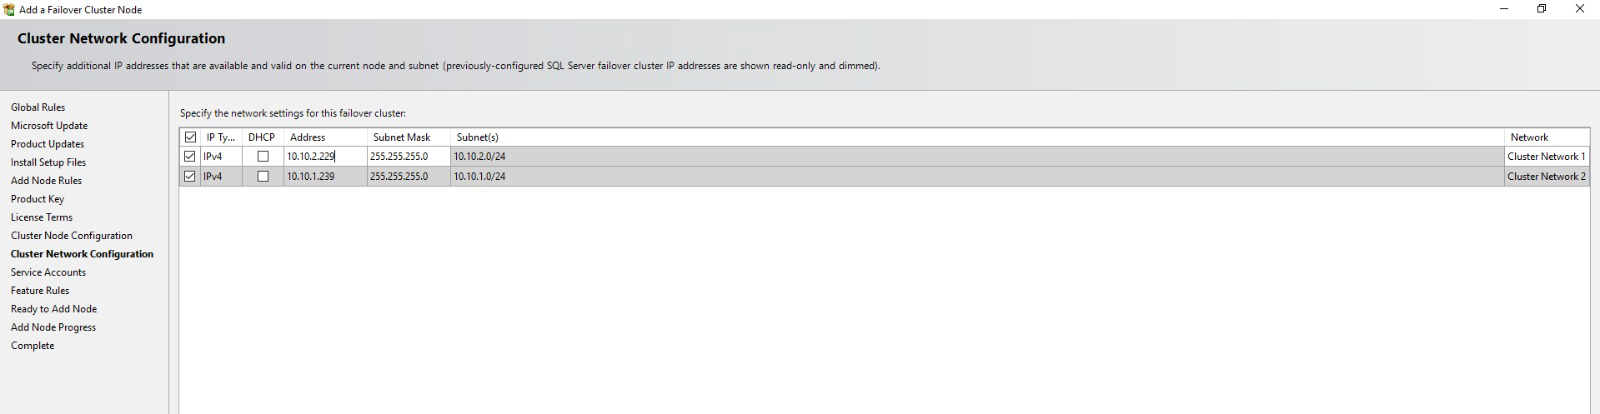
In the Cluster Network Configuration dialog, review the configuration of the SQL Server Failover Cluster Instance.
-
In the Service Accounts dialog, ensure that the configuration information matches what was used for configuring the first node. Provide the appropriate passwords for SQL Server service accounts.
-
In the Feature Rules dialog, verify that all rules have passed. If any rules return warnings, make sure to resolve them before proceeding. Click Next.
-
In the Ready to Add Node dialog, verify that all settings are correct and click Install.

-
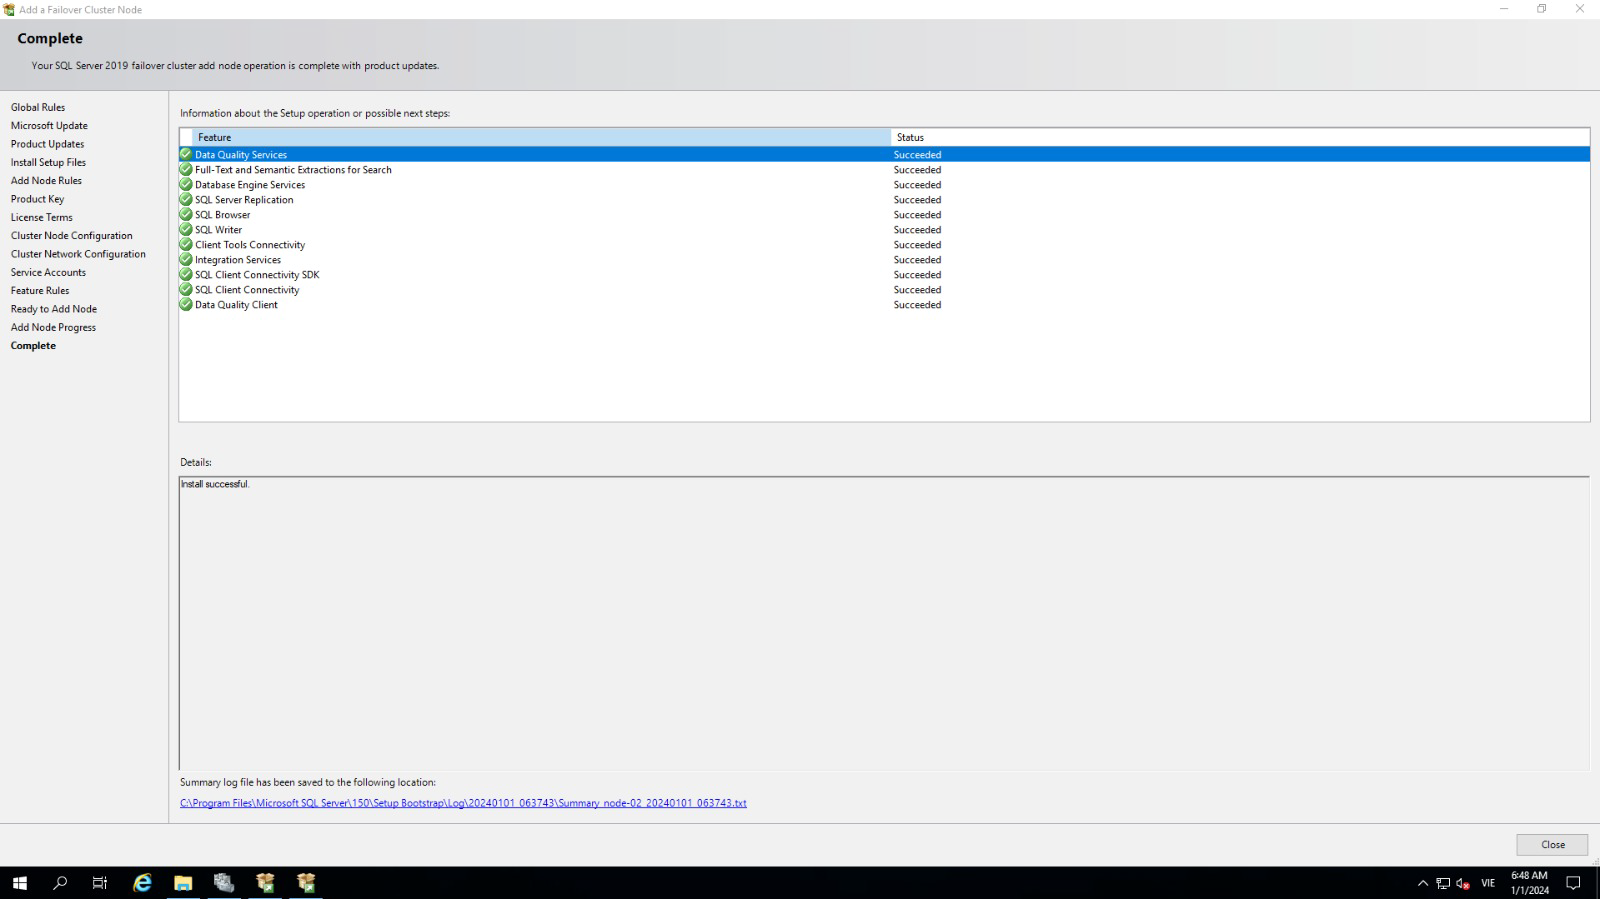
After the installation is complete, click Close in the Complete dialog.
-
Repeat the steps to add other nodes to the existing SQL Server 2019 Failover Cluster.